(Outside Mount L-Frame-Single Panel)
Recommended Tools: Nail Gun or Cordless Drill, Tape Measure, Torpedo Level, Box Knife, 6" Philips head driver, counter sink bit and screws.
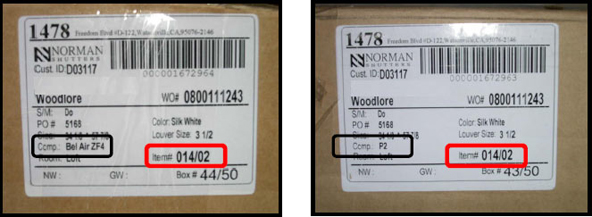
Make sure ITEM# (In Red) matches on both panel box and frame box. Each window will have 1 box for shutter panels and 1 box for frames. Note: Frames may be supplied with panel in the same box.
• Do not dispose of packaging until the shutters are operating appropriately.
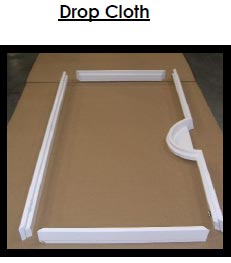
• Use of a moving blanket or drop cloth is recommended.
• Find ample working space to assemble your frame. (Preferably in front of the window).
• Check the diagram to make sure you have all the parts indicated for the appropriate type of installation.

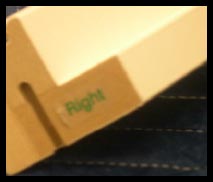
1. Carefully remove panels and frames from the packaging. Do not mix panels or frames from other windows. Frame parts will be labeled either top, bottom, right, left.
2. Set all frames on the frames on floor face up.
3. Position the left frame and the top frame onto a flat surface (small wood block is recommended to prevent damage to floor and to ensure a flush fit by the Hoffman Key) and line up the Hoffman key.

Tip: The Hoffman Key has a rounded and a flat side to it. The rounded side goes in face up
Repeat step 3 for remaining corners to complete the 4 sided frame assembly.
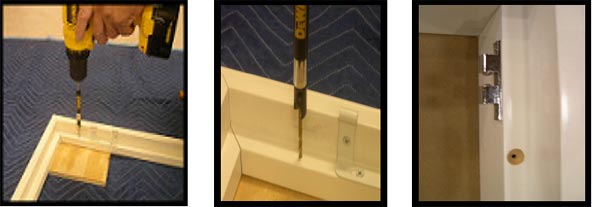
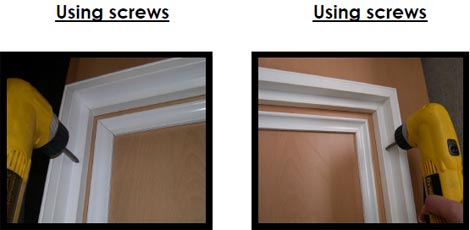
4. It is best to pre-drill the top left and right frame if you are installing with screws.
It is recommended to use a 6" counter sink drill bit to avoid damaging the frame.
5. Position the assembled frame evenly around the window. To ensure that the panel opens and closes easily into the roller-ball catches, use of a level is suggested.
Note: The distance between the moulding and the frame is even on the Sides.
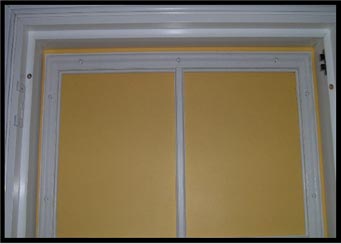
6. Install the Top Left and Top Right side of the frame evenly around the window. Norman Shutters recommends using screws.
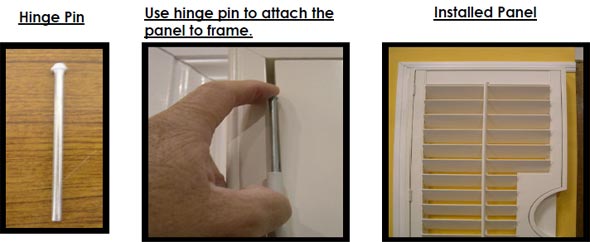
6. Attach panel to the frame using the hinge pins provided.
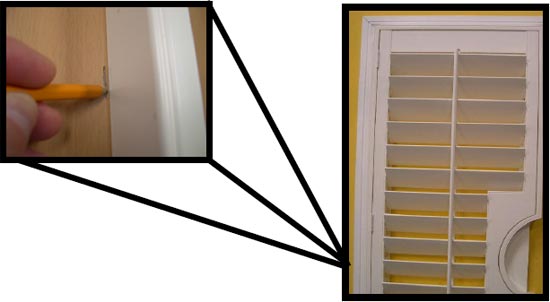
Step away from the window and open louvers to make sure the louvers are evenly positioned in the window. Make a mark on the wall vertically to line up the frames so that the louvers are evenly positioned on the door.
7. With panel evenly around the French Door, nail or install the remaining 2 screws into the frame on the hinged side.
TIP: BE SURE TO ADJUST THE PANEL IN THE FRAME SO THAT THE PANEL CLOSES EASILY INTO THE CATCHES
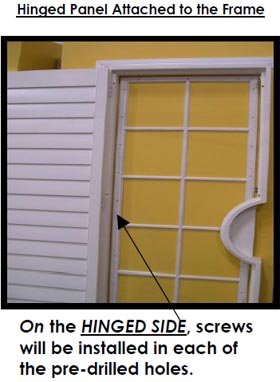
8. Install cut-out side of the frame so that the panel opens and closes easily into the roller ball catches. You may need to take out the screw in the cut-out side of the frame to adjust up and down until the panel closes easily into the frame.
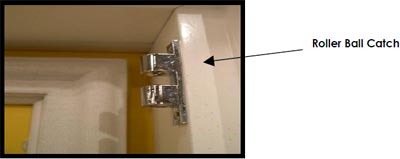
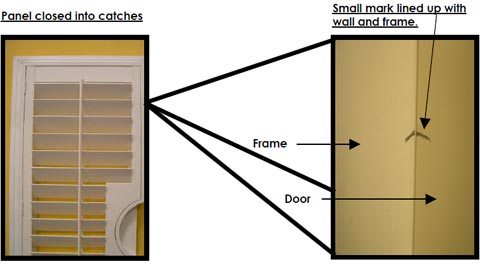
USING A PENCIL, MAKE A SMALL MARK HORIZONTALLY ON THE WALL/DOOR AND A SMALL MARK ON THE FRAME.
OPEN THE PANEL, LINE UP THE 2 MARKS ON THE FRAME AND ON THE DOOR, AND INSTALL THE CUT-OUT SIDE OF THE FRAME TO THE WALL/DOOR. OPEN AND CLOSE THE PANEL TO MAKE SURE IT OPERATES EASILY.
9. Install the SET SCREW into the remaining Hinges (ALWAYS PRE-DRILL).
10. Touch up---It is recommended to fill in screw holes and caulk around sides if needed.